 Owncast 现在支持自定义插件。
插件快速入门
The quickest way to build a plugin is with the JavaScript or Python SDK. Pick a tab below and follow it through installation. To use Rust, TinyGo, AssemblyScript, Zig, or another compiled language instead, see Native WebAssembly.
先决条件
- 一个你可以管理的 Owncast 服务器,版本 0.3.0 或更高。
- JavaScript
- Python
- Node.js 18 或更高版本(使用
node --version来检查)以获取@owncast/plugin-sdk工具链。
- Python 3.8 或更高版本,以及
uv或pip用于安装owncast-plugin-py工具链。
1。 创建一个新插件
插件的标识符是其 slug:小写字母、数字和连字符,以字母开头。 它用于作为目录名、输出文件名和 URL 前缀。
- JavaScript
- Python
使用 create-owncast-plugin 搭建一个项目,传递 slug:
npx create-owncast-plugin@latest my-plugin
cd my-plugin
npm install
你现在拥有:
my-plugin/
├── package.json
├── plugin.manifest.json     display name, slug, version, permissions
├── README.md                how to build, test, package, and install it
├── INSTRUCTIONS.md          optional, rendered as a tab in the admin
├── AGENTS.md                notes for AI coding agents
├── .agents/                 a bundled skill for AI coding agents
├── src/
│   └── plugin.js            your code, with a sample handler
└── __tests__/
    └── plugin.test.js       a sample scenario test
npm install 还会创建 node_modules/。 这些都不会自动为你创建,但是你可以添加一个 icon.png(在管理插件列表中显示),一个 public/ 目录(静态文件在 /plugins/my-plugin/ 提供),以及一个 assets/ 目录(主机内联用于清单字段的文件)。
使用 new 搭建一个项目,传递 slug。 uvx 直接从 PyPI 运行搭建工具,而无需安装任何东西:
uvx owncast-plugin-py new my-plugin
cd my-plugin
uv tool install owncast-plugin-py      # or:  pip install owncast-plugin-py — for build/test/serve/package
你现在拥有:
my-plugin/
├── plugin.manifest.json     display name, slug, version, permissions
├── README.md                how to build, test, package, and install it
├── INSTRUCTIONS.md          optional, rendered as a tab in the admin
├── AGENTS.md                notes for AI coding agents
├── .agents/                 a bundled skill for AI coding agents
├── src/
│   └── plugin.py            your code, with a sample handler
└── __tests__/
    └── plugin.test.json     a sample scenario test
清单有一个易于阅读的显示名称 ("name": "My Plugin") 和一个 slug ("slug": "my-plugin")。 显示名称是管理员在列表中看到的内容。 Slug 是规范标识符。 请参见 清单参考 以获取规则。
2。 编写一些代码
处理程序对事件做出反应。 SDK 根据你定义的处理程序生成清单的订阅列表,因此不需要保持同步。 这是一个回音机器人:
- JavaScript
- Python
打开 src/plugin.js:
const { definePlugin, owncast } = require('@owncast/plugin-sdk');

module.exports = definePlugin({
  onChatMessage(msg) {
    owncast.chat.send(`echo: ${msg.body}`);
  },
});
创建 src/plugin.py:
from owncast_plugin import plugin, owncast

@plugin.on_chat_message
def echo(msg):
    owncast.chat.send(f"echo: {msg.body}")
请参见 处理程序参考 以获取你可以钩住的所有内容,以及 API 参考 以获取所有 owncast.* 方法。
3。 构建插件
这将在你的项目根目录生成 my-plugin.ocpkg:一个包含你清单、编译的插件以及 public/ 和 assets/ 内容的单个文件。 .ocpkg 是分发格式:该单个文件包含管理员所需的一切。
- JavaScript
- Python
npm run package
owncast-plugin-py package
4。 运行测试
每个场景通过实际的插件运行时触发事件并模拟副作用,因此通过测试意味着在生产中具有相同的行为。 请参见 测试指南 以获取完整数据模型。
- JavaScript
- Python
npm test
owncast-plugin-py test
5。 (可选)针对本地开发服务器进行迭代
在 http://localhost:8080/plugins/my-plugin/ 为 curl 端点服务插件,打开静态网页,或通过 /_dev/ 便捷端点触发事件处理程序(例如 POST /_dev/chat)。 更改代码时重新启动开发服务器。
- JavaScript
- Python
npm run serve
owncast-plugin-py serve
6。 在你的服务器上安装
在 Owncast 管理中,打开侧边栏中的 插件,然后点击 上传插件。 选择你的构建生成的 my-plugin.ocpkg 文件。 插件会立即出现在列表中。 切换 启用 以加载它。
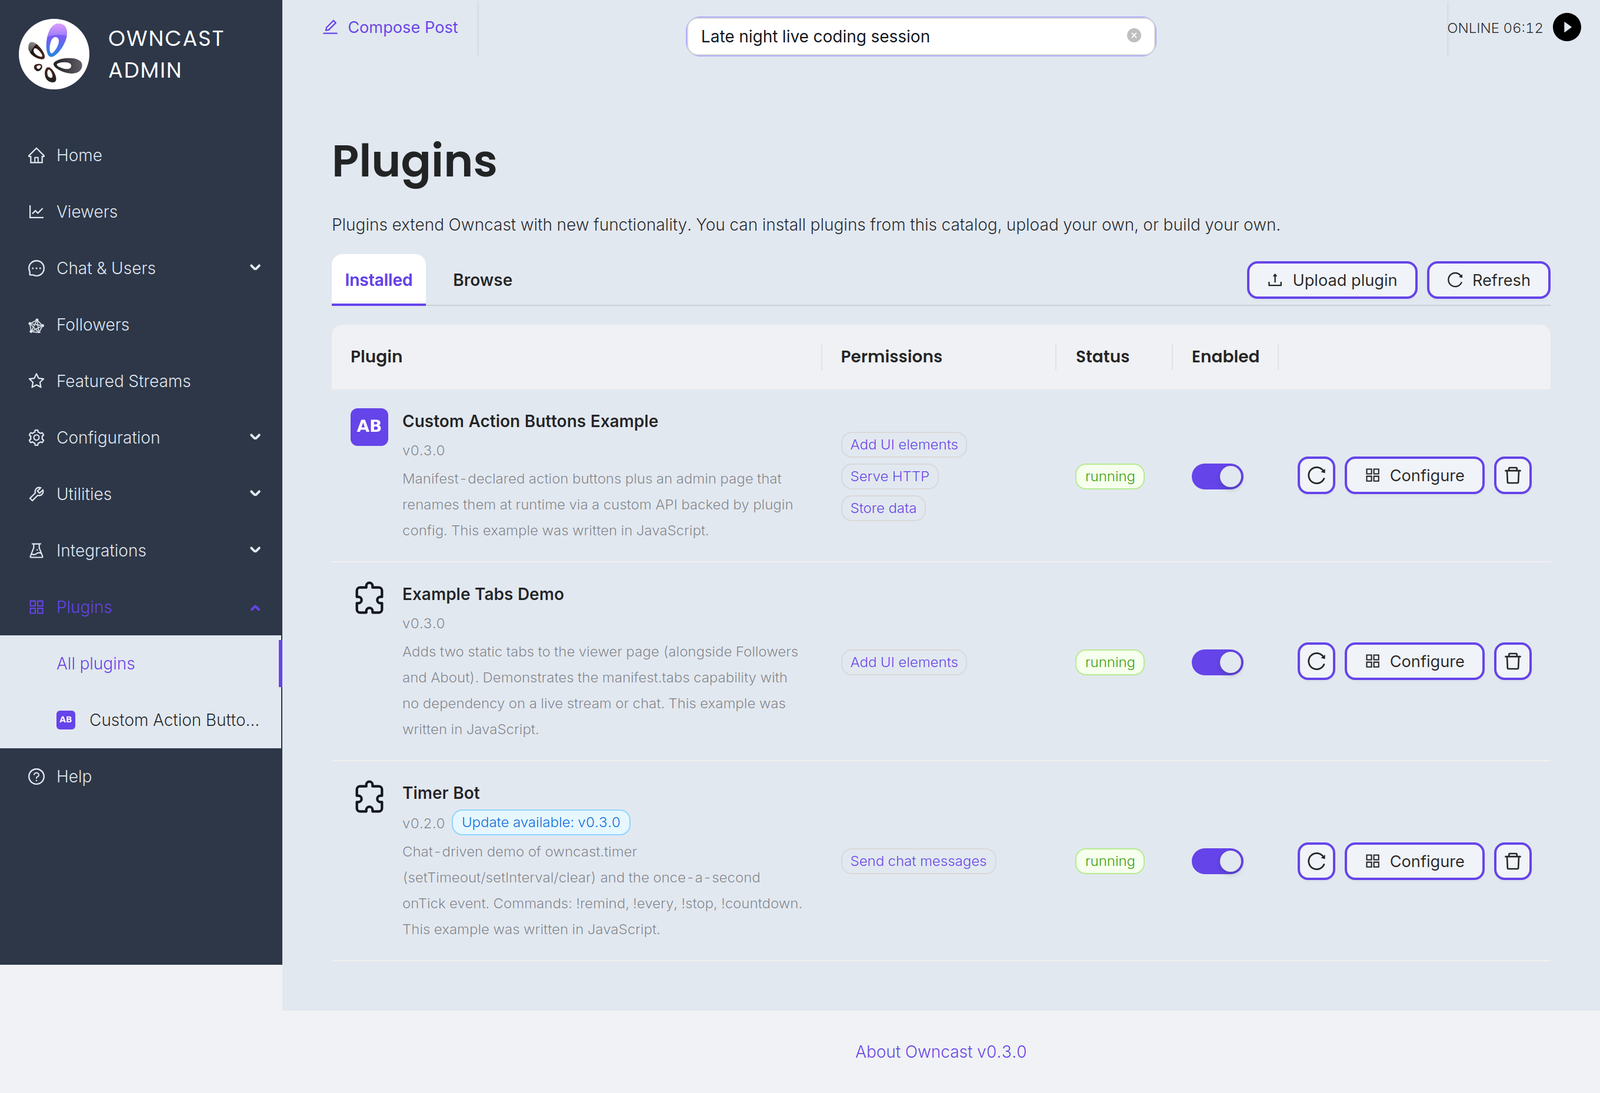
或者,将 my-plugin.ocpkg 复制到你的服务器的 data/plugins/ 目录,下一次扫描将会识别它:
scp my-plugin.ocpkg user@your-owncast-server:/path/to/owncast/data/plugins/
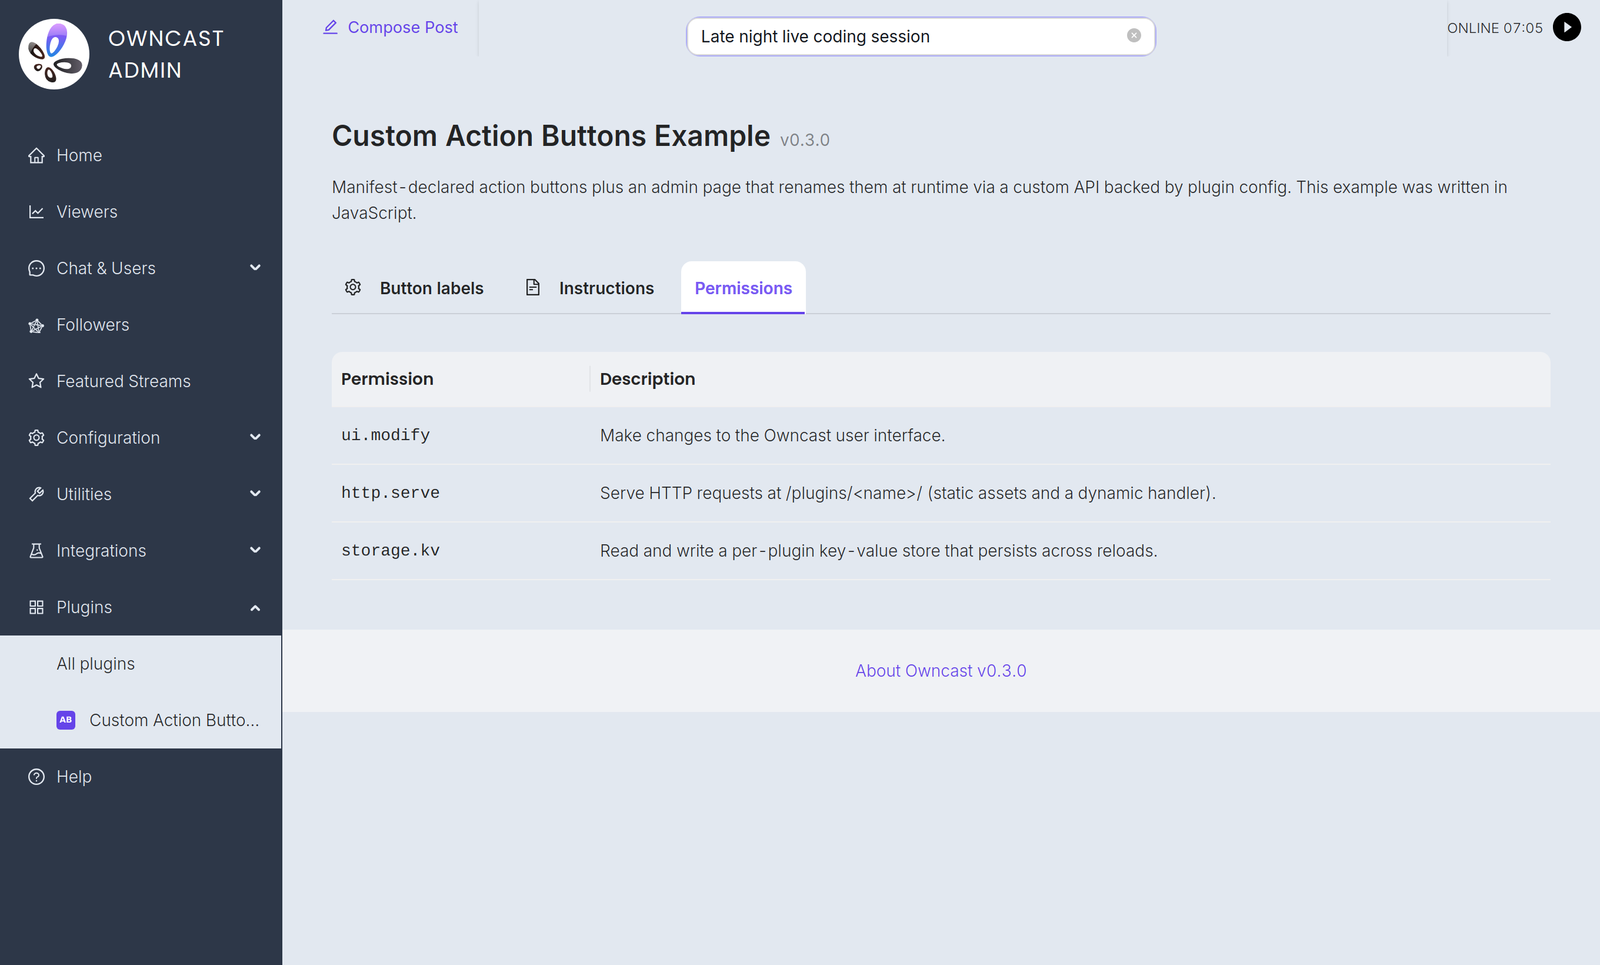
如果插件声明了权限,管理员在启用之前会在插件详细信息的 权限 标签中审核它们。 第一次启用将捕获已批准的权限集。 If you later ship an update that asks for more access, the already-approved version keeps running with its existing permissions while the update waits as pending until the admin re-approves.
接下来读什么
- 选择 SDK 及其 JavaScript / Python 页以获取完整的特定于语言的参考。
- 清单参考 以获取
plugin.manifest.json的完整模式。 - 处理程序参考 以获取你可以订阅的每一个事件。
- Owncast API 以获取你可以从插件代码调用的每个方法。
当事情出错时
- 插件没有出现在管理员列表中。 确保
.ocpkg在data/plugins/中,而不是仅在plugins/中,且文件名以.ocpkg结尾。 管理员的 插件 页面有一个刷新按钮,如果你不想等待下一个扫描。 - 插件出现但无法启用。 检查管理员的插件详细视图。 状态 列显示
错误如果清单无效或者插件实例化失败。 悬停查看消息,或者在本地运行测试以捕获相同的问题再发布。 - 插件启用但不执行任何操作。 确保你使用了正确的处理程序名称(
onChatMessage/on_chat_message,而不是onMessage),并且匹配的权限在你的清单中。 A call without its permission never reaches Owncast: the denial is logged on the server and the call returns an empty or zero value, so watch the Owncast logs. - 插件自动被禁用。 过滤器连续抛出或挂起五次会在会话结束时被禁用。 修复错误,重新构建,重新部署,并重新启用。
Improve this page
See something missing or incorrect? Edit this page and improve the documentation for everyone.